Baby-led weaning introduces your baby to solid foods by giving soft, cut-up finger foods starting at six months old. It began in the United Kingdom where weaning means “starting solids,” not stopping breast/chest or bottle feeding. It encourages babies to feed themselves.
What are the benefits of baby-led weaning?
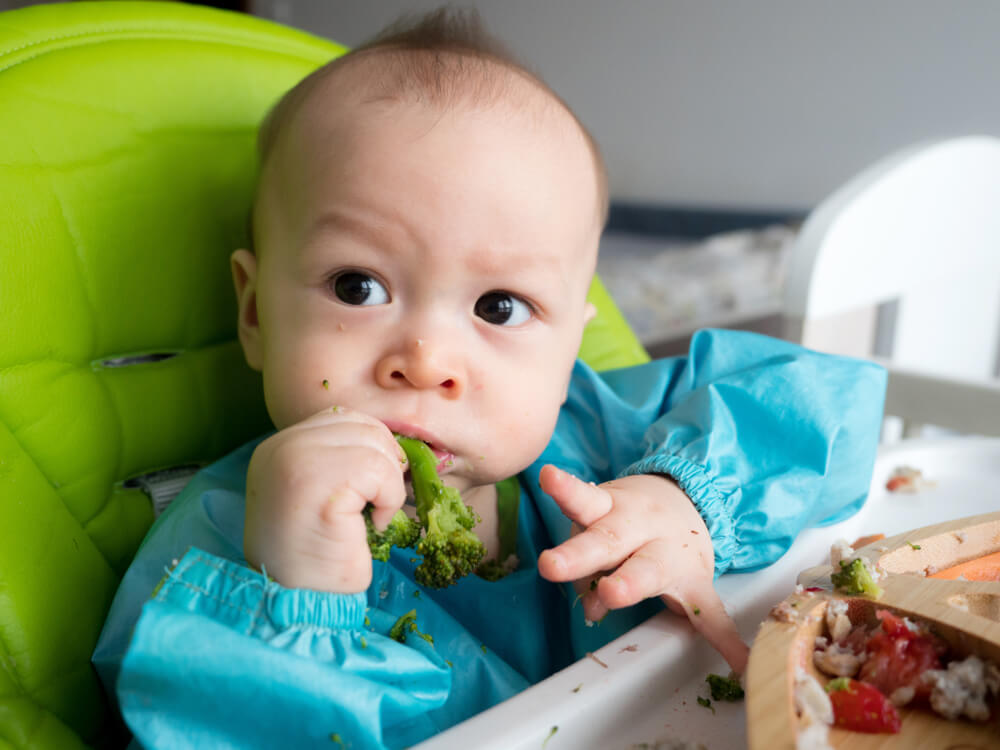
- Baby-led weaning lets babies hold onto soft strips or pieces of food and bring it to their mouth.
- Parents stay close to their babies while they are eating, but do not help them get food into their mouth. Parents can enjoy their own meal while keeping a watchful eye on their baby.
- Babies can feed themselves and there is no pressure from caregivers to eat.
- Babies are in control of feeding and can stop eating when they are full or continue to eat if they are hungry.
- Babies can use all five senses — taste, touch, smell, sight and hearing — to explore the food while eating.
How do I start baby-led weaning safely?
During meals, offer soft, cut-up finger foods that your baby can hold with a fist. At six months, babies use their whole hand to pick things up. Around eight or nine months, babies can pick things up with their thumb and pointer finger. If you want, you can help your baby use a spoon. Put infant cereal, mashed or minced food on a spoon and give the spoon to your baby to feed themself.
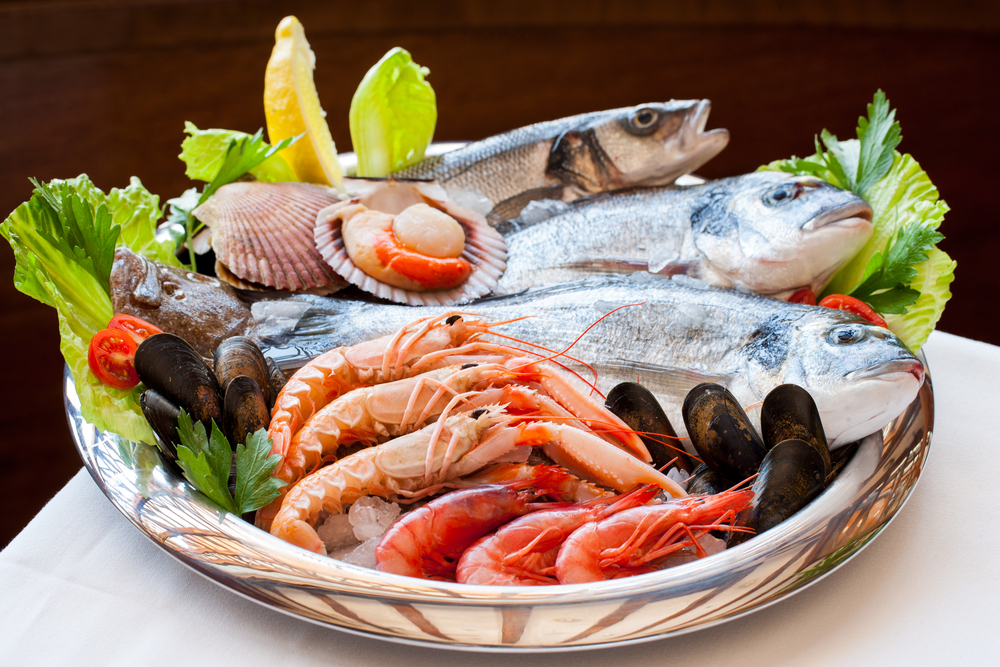
Start with a variety of iron-rich foods such as meat, poultry, fish, tofu and beans. At first, babies may only eat a little and might play with the food. Eventually, babies will use their gums to break down the food into smaller pieces to swallow.
What are some soft foods I can offer my baby?
- firm tofu, in pieces
- meatballs made from ground beef, chicken, turkey, lamb or pork cut in half (or ground meat formed into a finger shape)
- wedges of hard-boiled egg
- strips of scrambled egg or omelet
- pieces of cooked or canned fish (remove bones)
- mashed chickpeas or beans
- soft-cooked vegetables, such as green beans, carrot strips or spears of broccoli
- strips of cheese
- mashed berries
- oven-baked sweet potato or potato fries without skin
- pieces of soft fruit such as banana, avocado or mango
- pancakes made with foods such as lentils, brown rice, infant cereal, quinoa or oats. See the recipe.
- pancakes made with grated zucchini or beets with flour and egg
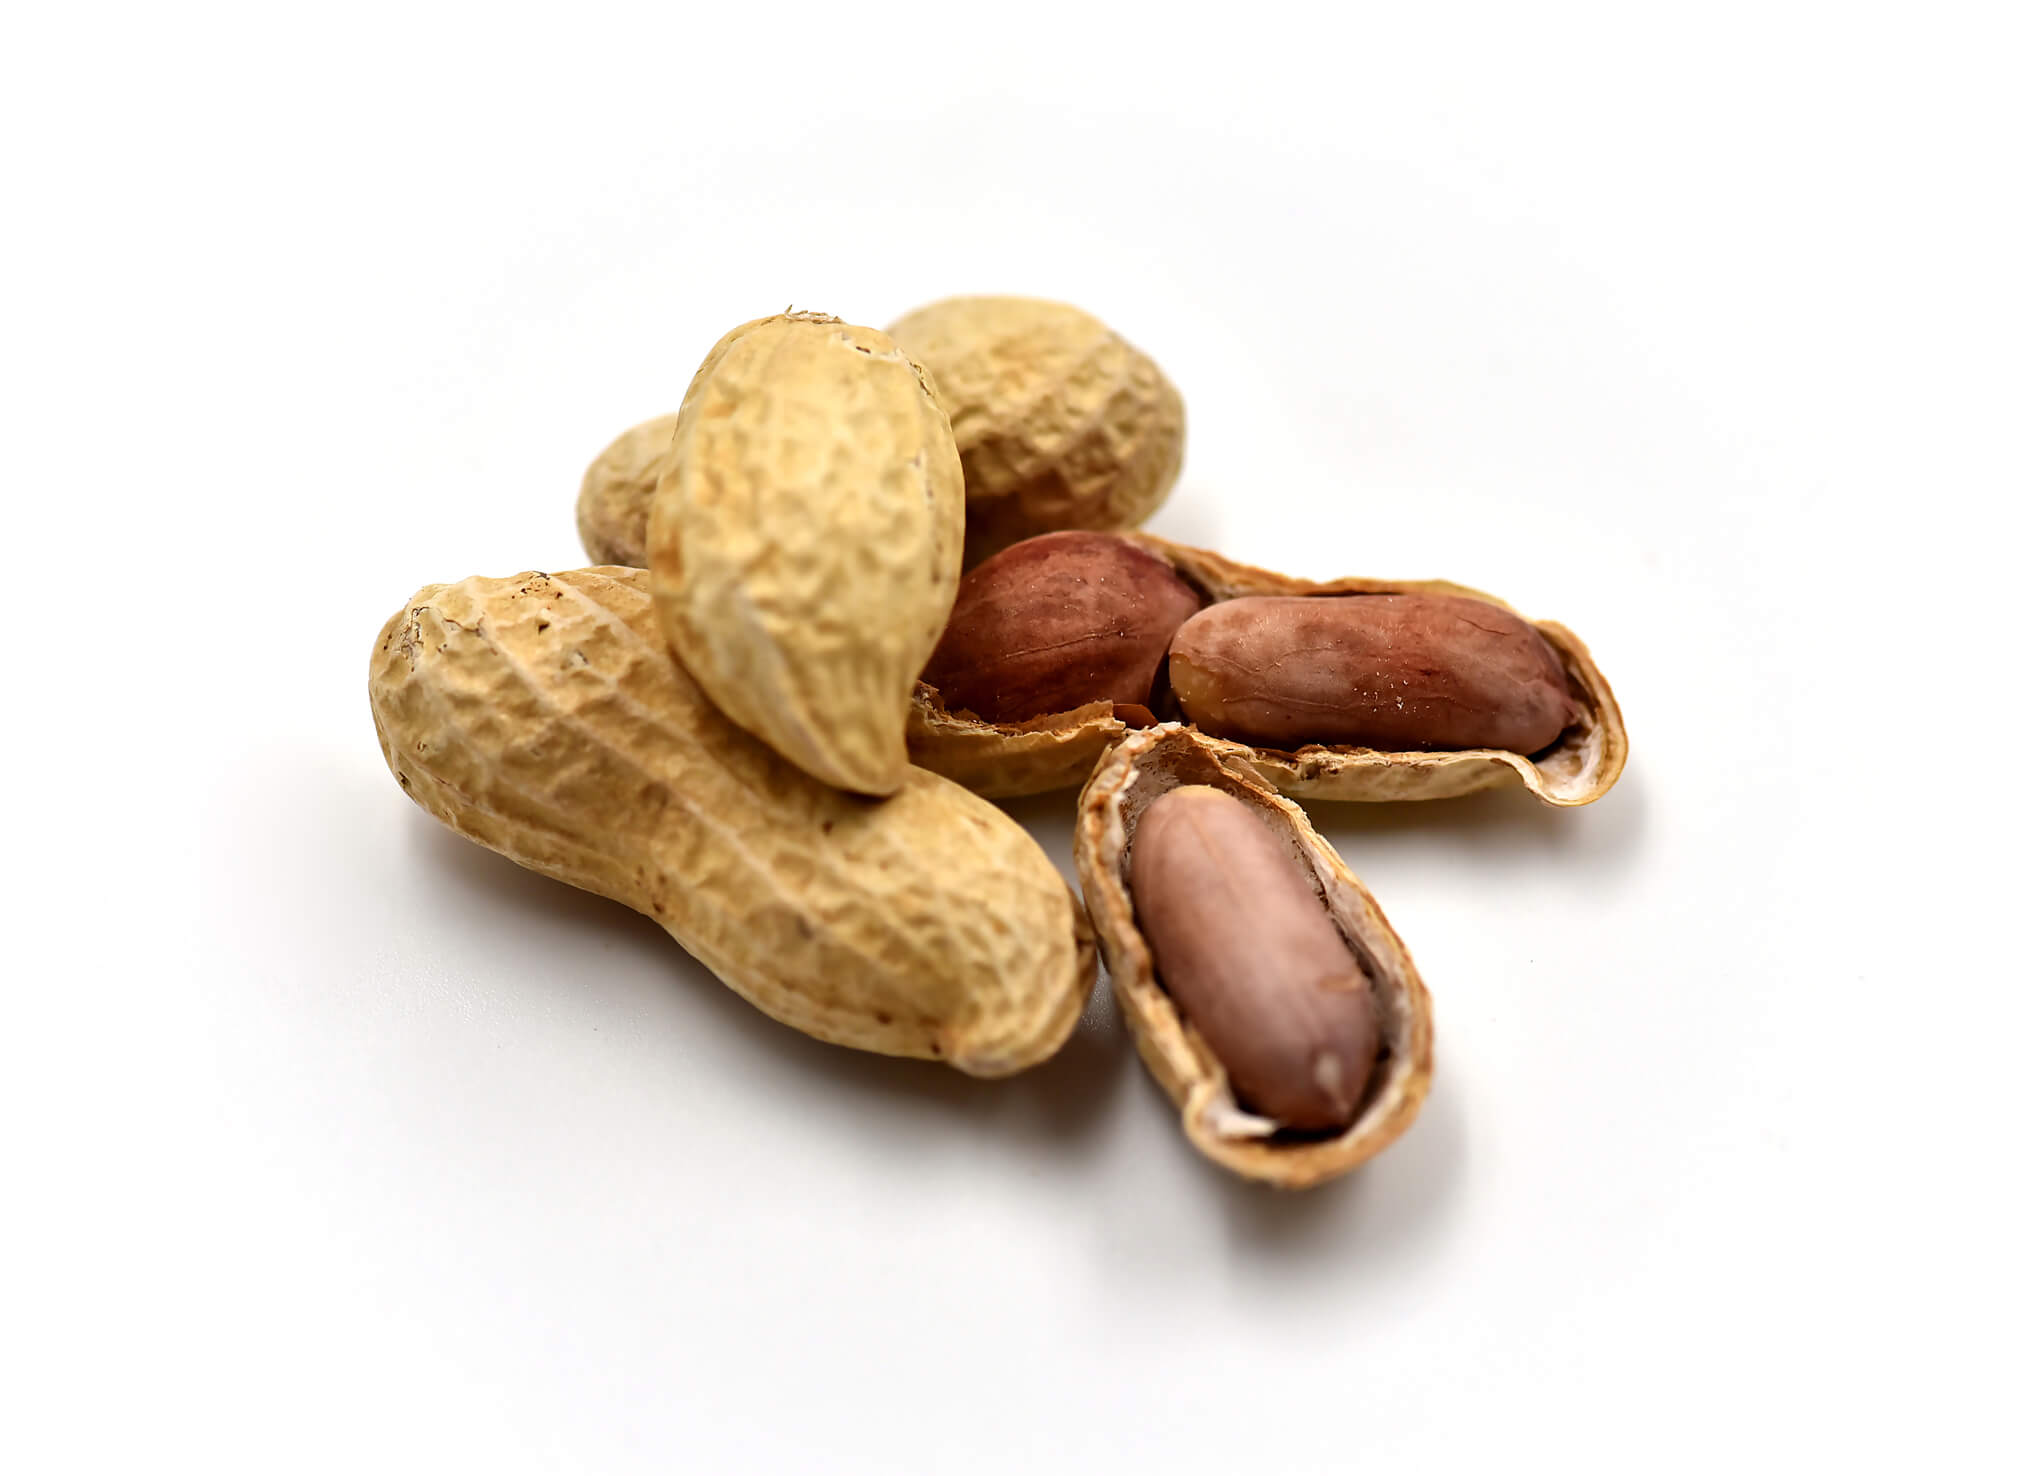
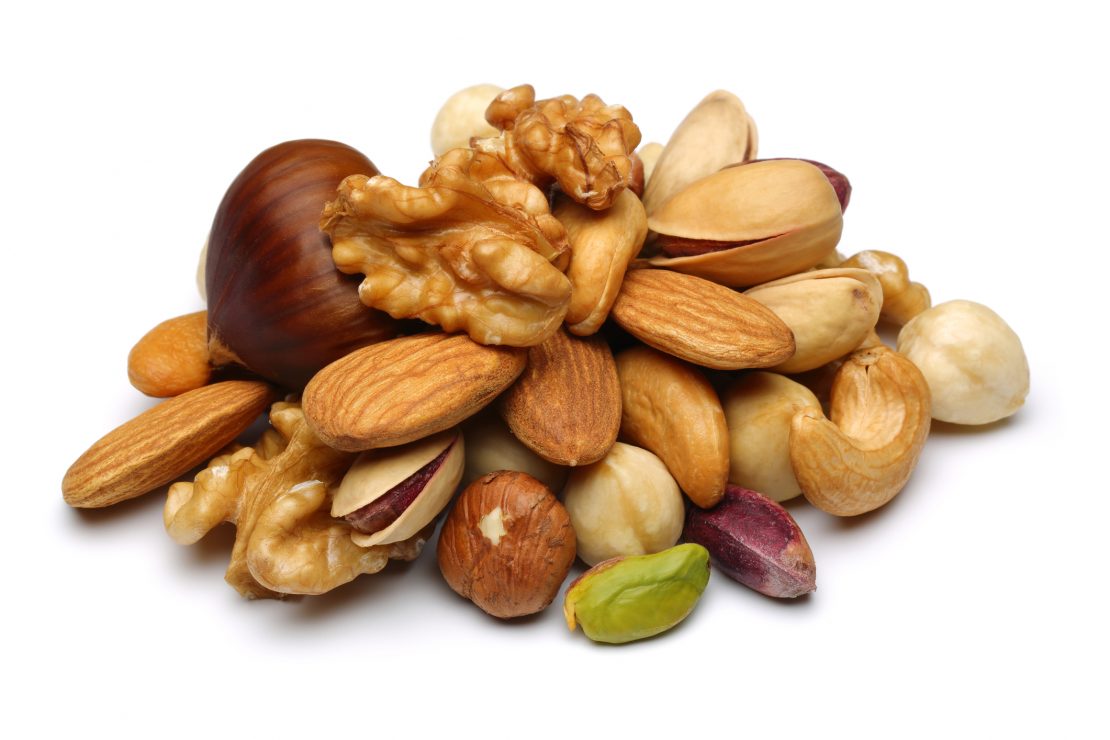
- strips of wholegrain toast with very thinly spread nut butter or thinly spread hummus
Did you know?
Mashed foods can be put on a spoon or formed into a ball or finger shape. If foods are slippery, like cut-up fruit or mashed foods, roll them in dry infant cereal so they are easier to hold.
Is there something wrong with feeding my baby with a spoon?
Spoon feeding is a safe and reliable way of feeding your baby. But it is important to let your baby decide what to eat and how much to eat. Babies will be better eaters in the future if they are not forced to eat or denied food. Eat as a family and remember to offer more textures (such as minced, grated, diced, and finger foods) as soon as your baby is seven months. Let babies feed themselves by nine months.
Did you know?
You don’t have to choose one way of feeding your baby over another. If you try baby-led weaning, you can also feed some foods with a spoon at the same time.
Concerns with Baby-led Weaning
To prevent choking:
- Give foods that are soft and can be mashed on the roof of a mouth with a tongue.
- Make sure the food pieces are longer than your baby’s hand.
- Toast bread and cut into strips. Do not give soft bread.
- Do not give hard vegetables or fruit. Cook until soft and cut into strips.
- Cut round or oval foods into smaller pieces or mash them with a fork (for example, cut grapes into quarters, mash kidney beans or berries).
- Always watch babies when they are eating.
Did you know?
Babies may gag on food when they try to eat. This is part of learning to swallow. Gagging is not the same as choking. Choking blocks the airway. In babies, the gag reflex is closer to the middle of the tongue. This helps the baby spit or cough food out.
- Not eating enough iron-rich foods or calories for growth.
This is because the variety and amounts of food that babies can feed themselves can be limited. Between six and eight months old, babies are still learning to eat. It takes time and practice. To help your baby get enough calories and iron, you can also feed some foods with a spoon. Try iron-fortified baby cereals, mashed beans and lentils, and minced meats.
Parent Tips
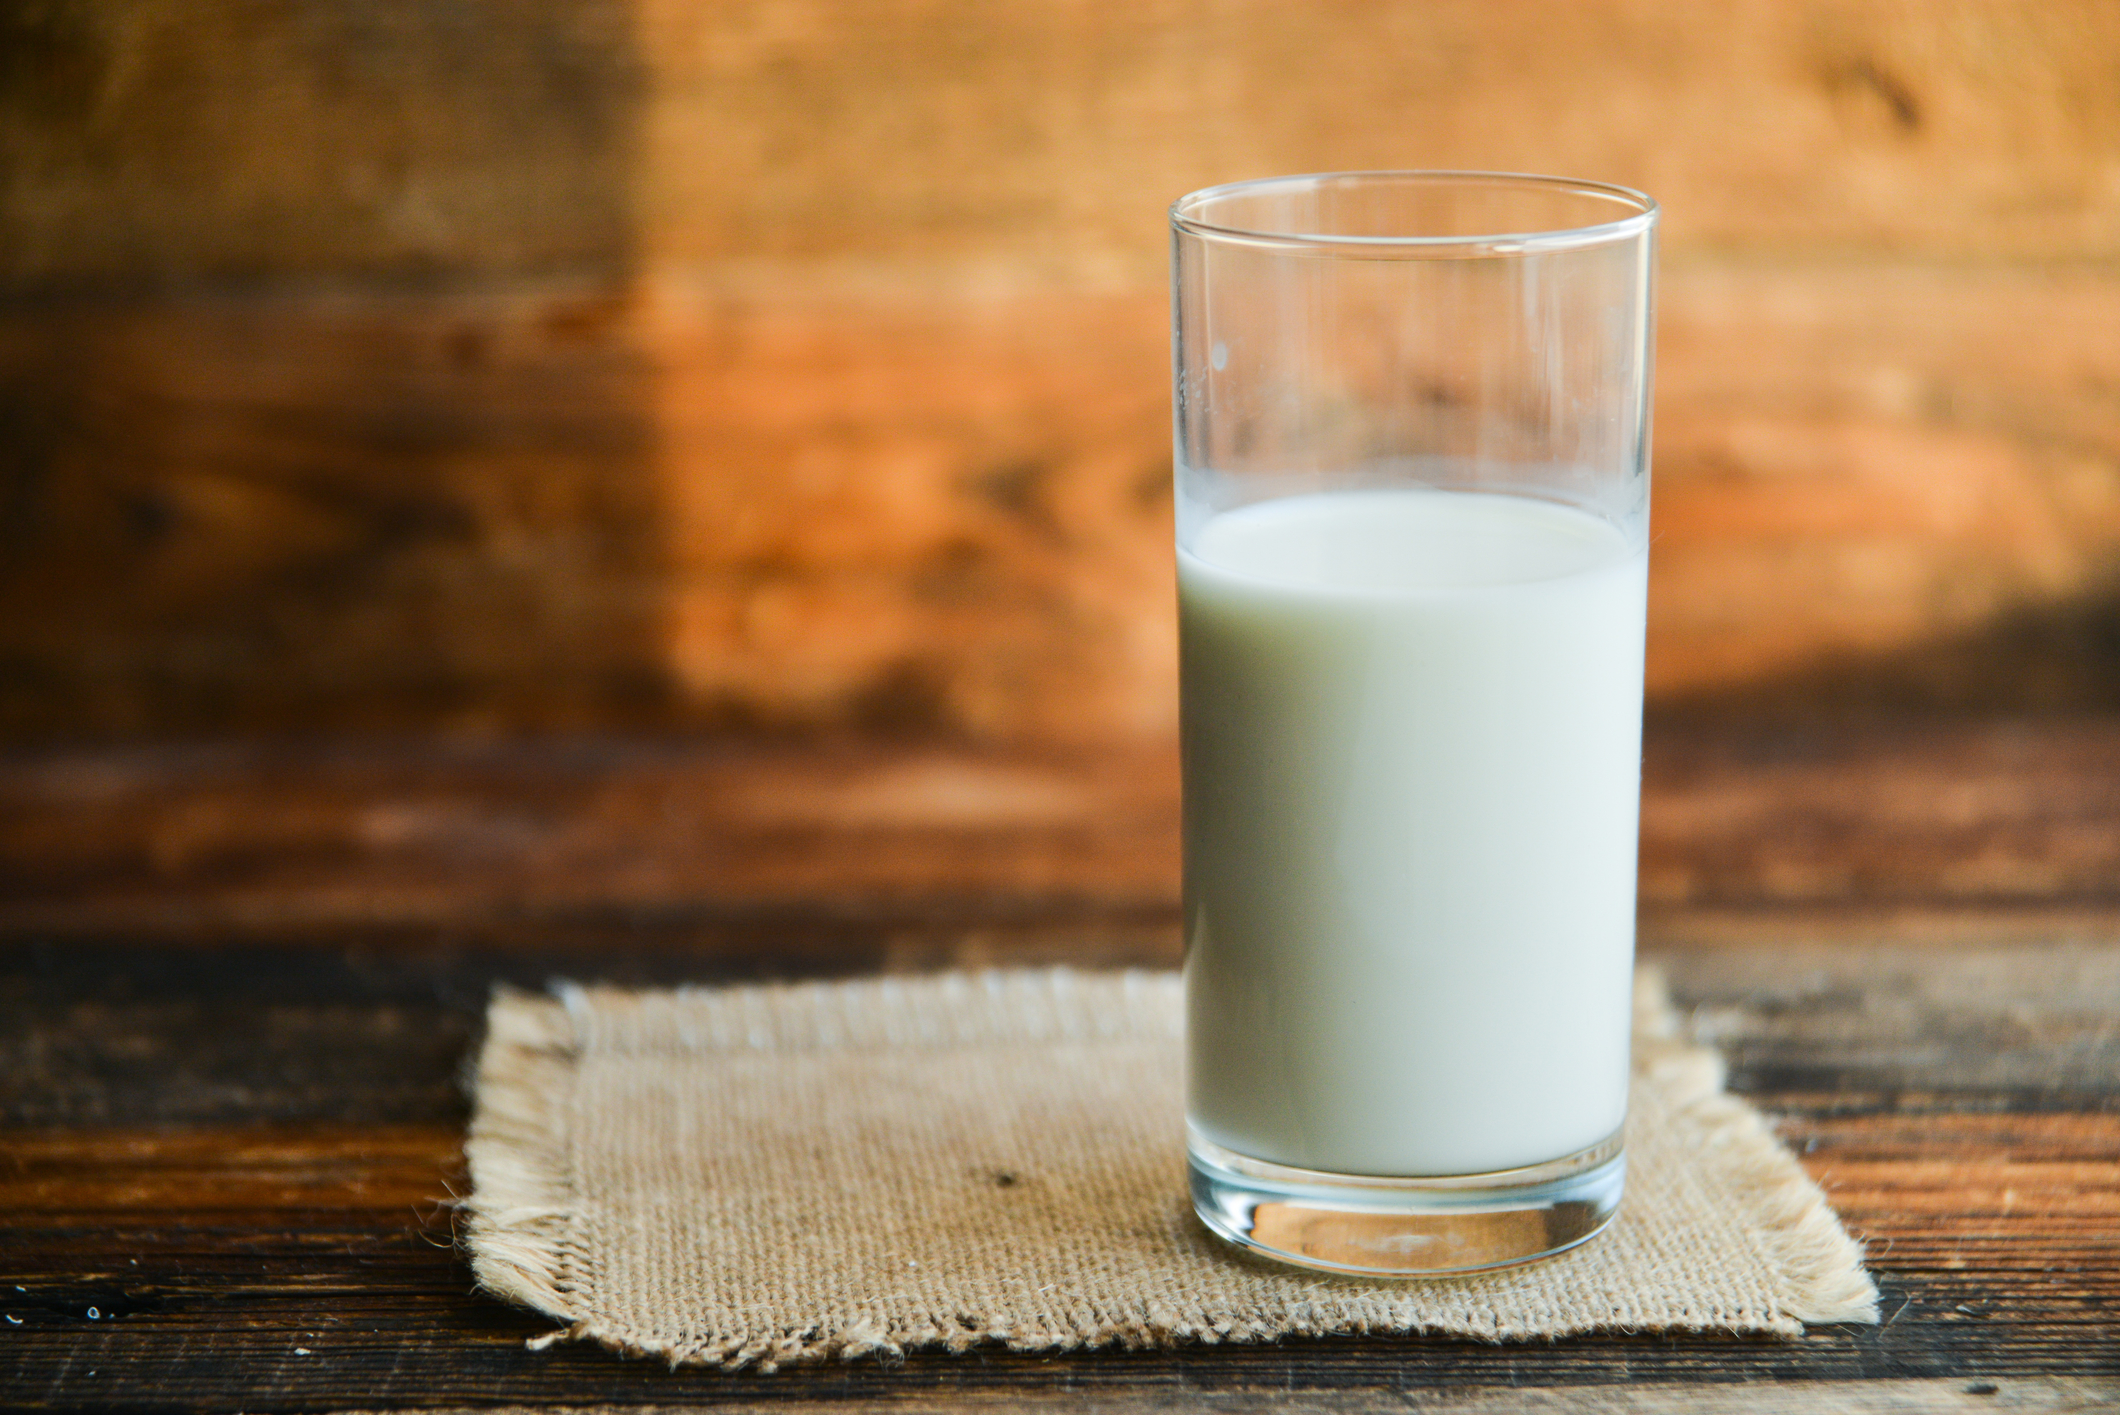
- Continue breastfeeding/chestfeeding and/or formula feeding your baby on cue. This is still your baby’s main source of nutrition as they learn to eat solid foods.
- Continue giving vitamin D daily.
- For ideas on how to incorporate starting solids with breastfeeding/chestfeeding or formula feeding, see our article on The Mess and Fun of Starting Solid Foods.
Bottom Line
No matter how you introduce solid foods, it is important to wait until your baby shows signs of developmental readiness, usually around six months old. Talk to your health-care provider if you are having trouble introducing solids. Ask if baby-led weaning may be a good option for your baby.
Resources
If you have a nutrition or food question, call Dial-a-Dietitian Manitoba at 204-788-8248 in Winnipeg or 1-877-830-2892.